Monday, June 18, 2018

Oven Cleaning Hack

Today I have a cleaning hack for you try. I found this online and wanted to try this before giving it to my readers. How many of you hate cleaning your oven? How many of you put this off because it’s a hard and messy job? How many think that cleaning the oven takes way to long? I would say yes to all of these because it is a job I just don’t like to do. So today I will show you how I cleaned my whole oven including racks in about 1 hour with very little elbow grease involved. Including only taking about 1 hour of my time it cost me less than $2.00 to clean my whole oven and racks.

How to Clean Your Oven Cheap and Fast

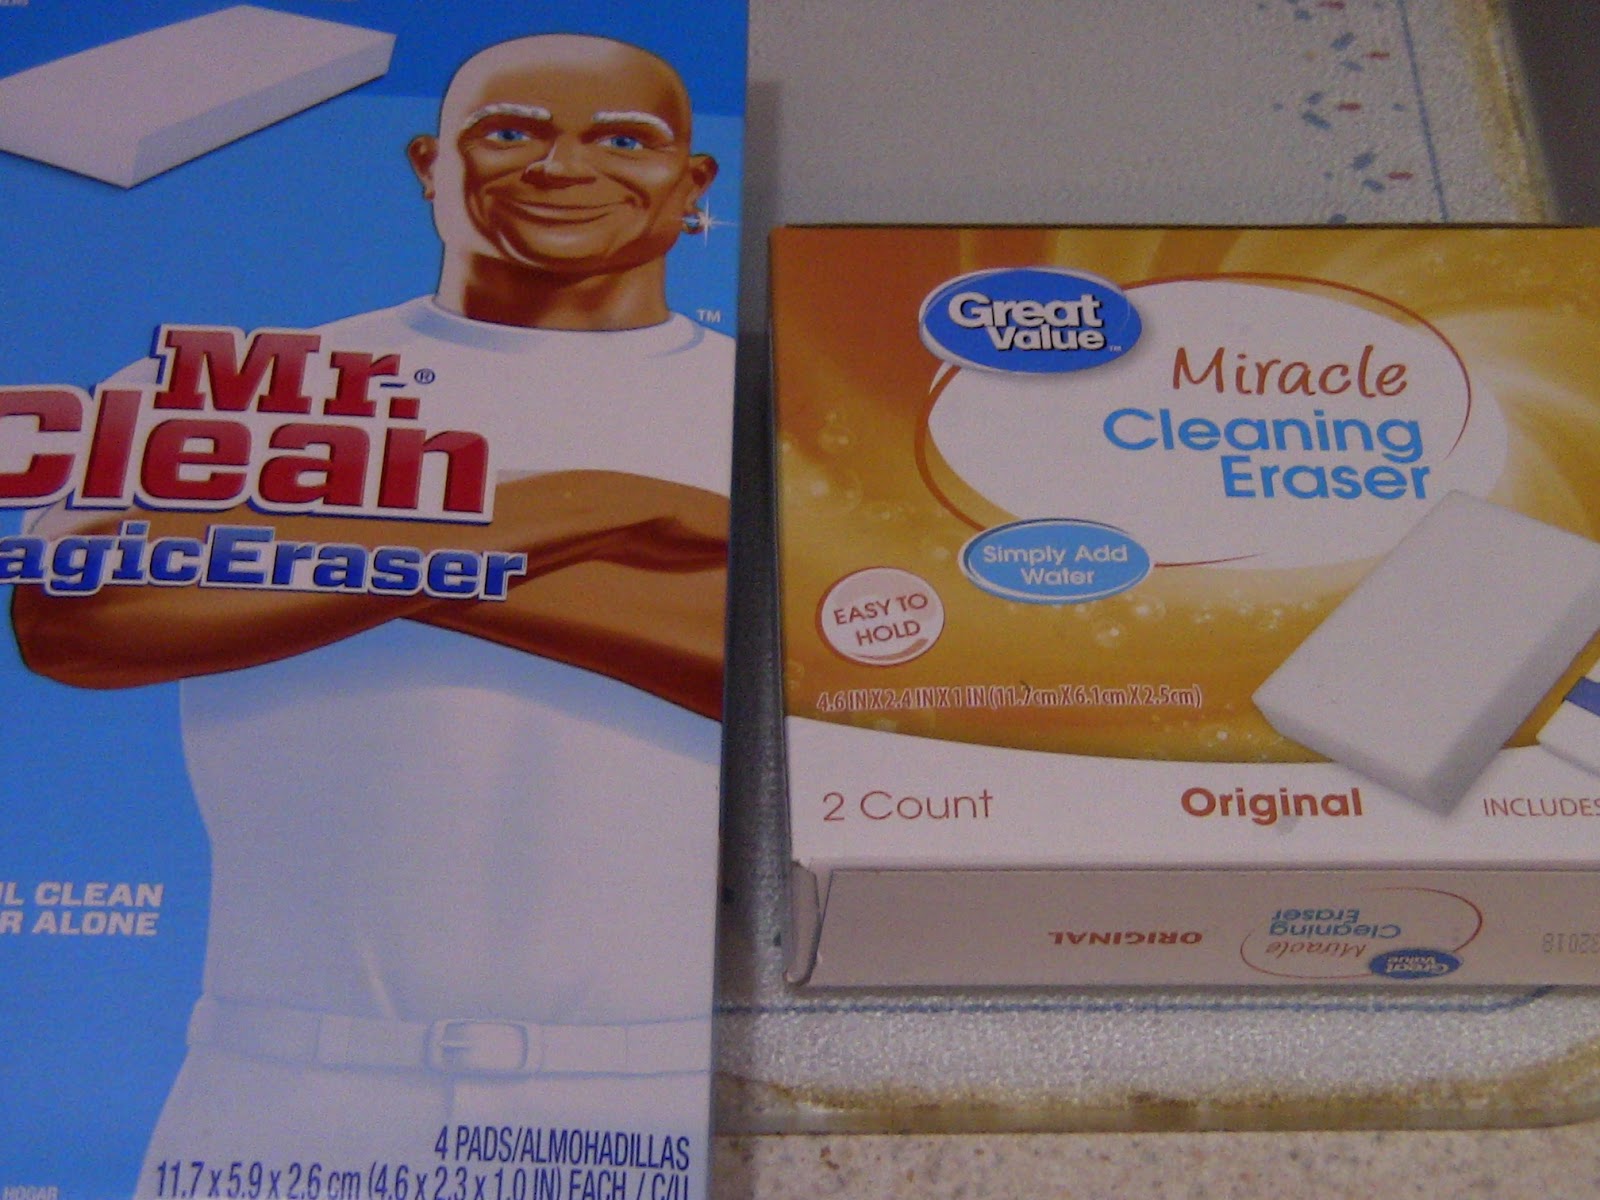
How many of you have heard of a Magic Eraser? These little sponges are a miracle to have a use. They clean things nicely and easily. I went one step further and I bought the generic Magic Erasers to see if they worked as well as the name brand ones. Surprises do happen, they work just as well as the real Magic erasers at half the price.

So today I am going to show you my really dirty oven and how 2 generic Magic Erasers cleaned my oven and racks for under $2.00 dollars in about 1 hour.

1.       First, I did my oven door which was splattered with grease and food. With no effort at all, I had my door cleaned and sparkling.

2.     

  Next, I tackled the back walls and the sides. I went through 1 generic Magic Eraser doing this with minimal effort. I was amazed at how clean this came in no time at all.

3.    

   The third thing I cleaned was the bottom of my oven Yuk. Burnt on food came off again very easily in no time at all.

4.    
   When the bottom was clean I put a piece of Tin foil down to help keep my oven cleaner. All I have to do is replace the tin foil when It gets too dirty
.
5.     

  The last thing I cleaned was my racks, these were really dirty. The generic Magic Eraser cleaned these up so fast and easy I was amazed.


I like to test things to make sure they work well before giving these tips to my readers. These Magic Erasers and generic erasers work great on the toughest of grease and dirt with minimal effort. They are a great time saver and money saver. Plus now you don’t have to buy those really strong chemicals and leave them in your oven overnight.

I hope you try this money saving, chemical free, fast and easy cleaning hack from Suzie Homemaker. Happy oven cleaning day.


Monday, June 11, 2018

Tuck less Sheets

How many of you have trouble with your sheets on your bed staying tucked in? This is a problem I have every night because my husband hates having the sheets to tight around his feet. I on the other hand like mine tight around my feet. Every morning I have to tuck everything back in or the sheets pulled off the bed.

This week, while looking for new sheets I decided to try something different with an old set of sheets. So today I am going to show what I did to keep my sheets tucked in at night and not have to re-tuck them in every morning. Once you see this I think you will agree this is an easy way to keep your sheets tucked in at night.

Since I tried this on an older set of sheets, and it worked very well I then did this to the new sheets I bought. P.S., this a great time to find sheets on clearance right now. I bought 2 sets of queen sheets for $10.00 dollars a piece.

Here’s what I did to keep my sheets tucked in.

1.       First, take your fitted sheet and lay it flat on the floor with the corners folded under.

2.     
  Take your top sheet or flat sheet and lay it on top of your fitted sheet. Pin your sheet to the fitted sheet on the bottom.

3.    
   Leaving the corners open on the bottom, sew your flat sheet to the fitted sheet with a sewing machine. If you want to reinforce the sheet sew a piece of seam binding along the bottom of the sheet.

4.       Now you have a sheet set that will stay tucked in at the bottom while you sleep. No more need to re-tuck your sheets in every morning anymore.

Now my husband can still have his sheets the way he likes and I can still tuck mine in on my side of the bed. Plus now he can’t hog the sheets because they are sewn together and we both get an equal amount of sheets. This was such an easy fix and it made both of us very happy.

I hope you like my sheet idea and it helps with the re-tucking of your sheets every morning. I found this idea to be such an easy fix and it cost me pennies to do. I hope you have a nice night’s sleep from Suzie Homemaker.


Monday, June 4, 2018

Tuna Patties

I have a quick and easy recipe to give you today that my family grew up with. I grew up with 2 older sisters and one younger brother. Money was tight especially when my father got laid off. So my mother would have to find ways to cut corners with food included. So today's post will be about a quick easy and cheap meal the whole family will like if you like tuna.

Tuna was a staple in my family when I was growing up. Two cans of tuna could feed our family of 6 for sandwiches for lunch or a meat dish for supper. You can make so many different meals with tuna, like tuna sandwiches, tuna salad, tuna casserole or my favorite meat dish tuna patties.

Tuna Patties

What you will need

1 Can of tuna                                                    Crackers of any kind (I used Ritz Crackers)

1 egg                                                                (Optional) ¼ cup grated cheese any variety
(Optional) any spices you like

1.     
  First, take the can of tuna and drain the juice out.

2.     
  With a small bowl scramble your one egg.

3.    
   Add your tuna and stir well.

4.      
Take ½ of a package of crackers and crush them into small pieces.

5.      
Mix your crackers into your tuna and egg mixture.

6.       Make patties and flatten them down and place in a skillet.

7.    
   Fry over medium heat until golden brown and then flip over and fry the other side until golden brown.

You can make these patties any size you like. They usually make anywhere from 3 to 4 patties per can of tuna. These tuna patties take less than 15 minutes to mix up and fry up.

These tuna patties cost under $2 dollars to make. You can use them as a quick lunch or a nice meat dish for supper. These tuna patties are a healthier alternative to beef or pork and much cheaper and faster to make especially if you re short on time and want something quick to make and eat.

I hope you enjoy my quick and easy tuna patty recipe. This is a favorite of mine and my family. Yummy tuna patties from Suzie homemaker