Monday, April 16, 2018

Pet Toys

To my local reader, I hope you all made it through the snow and ice storm ok. Today is a day to dig out from the storm. If you are one of the lucky ones to have off today because all schools are shut down, I have a fun project the children and grandchildren to make on their day off from school because of all the snow and ice.

How many of you have pets, like cats or dogs? I have a quick fun toy you can make for them with things you should have right at home.
We have a cat at home and she loves this toy.

Things You Wil Need

Old Nylons                                                        Old socks, rags or anything you can think of for stuffing

1.       Take your old nylons and cut off the top. Leaving just the legs and toes for your toy.

2.    
   Take your old socks, rags or any other stuffing and stuff your nylons. Leaving a little space at the top to tie a knot.

3.    
   If you do not want to stuff all of your nylon place knots in different places for your pets to grab onto.

4.     
  I like stuffing a little down by the toe, then placing a knot and then putting more stuffing in before placing more knots.

5.       This way your pets can grab onto any area of their toy they want to.

This fun pet toy can be made from things you have around the house for free. Most pets love to play tug of war with their owners. Think of all the fun your children and grandchildren can have with their pets.

I’m sure by now the kids are tired of digging out from all the snow and ice we just had, so why not do a fun project inside while they are off of school.

Let’s make our pets happy and make a toy for them today! Happy pets make happy children and parents from Suzie Homemaker.


Monday, April 9, 2018

Hair Dyes

Today’s Blog post is for women and teen girls. How many of you dye your hair? How much do you pay to have your hair dyed? What color do you want your hair dyed? There are so many different colors to pick from, how do you know which color to pick from?

Since this blog is about saving money, I will give you options and what I do when I dye my hair. Some people would say why dye your hair and just live with the color you have or don’t worry about the gray hair. I agree but sometimes I just want to look younger and feel pretty. So I find ways to have my hair dyed cheaper.

Most people will just go to their local beauty shop and have their hair dyed. My daughter did this her first time and said she had to pay over $50 dollars to have her hair dyed. My husband would shoot me if I paid that much money to have my hair dyed. I told my daughter there has to be a cheaper way to have your hair dyed.

The next time she had her hair dyed she tried a beauty school. It cost her $35 dollars. Yes, it was cheaper but not by much, plus she was not happy with the results. I said there still has to be a cheaper way to dye your hair.

Most beauty shops and beauty schools dye your hair with a permanent dye, what happens if you do not like the color? Now you are stuck with that color for quite a long time. I still think there is a better way and much cheaper way to get your hair dyed.

I found a much cheaper way to dye your hair for under $12 dollars, and if you do not like it, it will wash out a lot sooner than the permanent dyes. Go to your local Walmart, Target, Walgreens, stores and buy a cheap box of hair dye. There are so many different colors to pick from. The directions are easy to follow and the dye is easy to put on. My daughter dyed my hair in under 2 hours with great success. And this was her first time dying anybody’s hair. She even trusted me to dye her hair, and it turned out really nice.

My daughter paid $7 dollars for her hair dye and I spent $3 dollars on my hair dye. I have my hair dyed 3 times a year for under $10 dollars. Compared to let’s say $50 dollars for dying my hair, I save over$100 dollars a year.

Dying someone's hair is easy and very inexpensive if you buy the hair dye yourself. If you do not like the color it washes out very fast and you can always try a different color next time. This is one way I splurge on myself to make myself feel pretty.


Dying your hair does not have to break the bank if you find a friend or family member to do the work for you. For under $10 dollars and 1 hour of your time, you can have your hair dyed cheaper than a Beauty shop or Beauty school. Find a nice color and enjoy how much you have saved by doing it yourself, from Suzie Homemaker. 

Wednesday, April 4, 2018

Winter cold brings Spring Savings

It is hard to believe that Spring is here when Winter and snow will not let up this year! How many of you want Spring to finally be here for good?  This is the time of year when you need to go shopping. Yes, you heard me right go shopping.

Now is the time to buy all your winter clothes for next year for 60 to 90% off. I do this every year at this time and save big on clothes and anything that deals with Winter and cold weather.

The first things I would like to talk about is clothes. I recently went clothes shopping and started watching for all the deals on clothes. When the racks are full and have many of the same sizes and colors available I just wait. You have to learn to be patient and watch as the supply gets lower because the prices lower as supplies get less. Waiting is the key to getting the lowest price possible. I go back every week and just watch and wait till the price has dropped to the lowest I think it will get and then when supply and sizes and colors get less I then buy.

Here are some of the things I bought at 75 to 90% off.


The next things I like to buy are Winter sheets and blankets. I like to buy the flannel sheet sets but, these sheets can cost over $80 dollars per set. When you have multiple beds in your home and you want a couple of sets for each bed, this can really be a big expense. So keep watching for the clearance sales on these sheets. I found my flannel sheet sets on clearance for a queen size bed for under $20 dollars for a set of sheets. Buy these while they are clearance and save for next year when the weather gets cold.

Blankets and warn wraps are the same deal. Wait and watch for quantities to start getting lower and watch the prices drop before buying. I bought a couple of blankets and wraps at 80% off this way.

Here’s what I bought.


Now that Easter is over start buying all your Easter decorations now for next year at 50 to 75 % off. Buy all those Easter eggs, baskets and toys now and save for next year’s celebration. No one will ever know when you bought your supplies. Saving money is the main point.

My point today is buy when things are on clearance and save from 50 to 90% off. Why throw away money when all you have to do is wait for the clearance sales and save big time. As I told my husband I do not know the last time I bought anything that wasn’t on clearance. When I shop I go directly to the clearance racks, look and just wait till the prices go down before I buy.


Yes, I give you permission to shop if you go clearance shopping only. All kidding aside, my point is why pay more when all you have to do is wait for the clearance sales to save big time on all your winter clothes and supplies for next year. I am a smart shopper and I only buy things on sale or clearance. When people tell me what they pay for clothes, I say you need to shop with me. Happy Clearance Shopping from Suzie Homemaker.

Monday, March 26, 2018

Easy Easter Treats

Happy Easter! Easter is a time to spend with family and friends, so today I want to give you a very easy recipe to make.  This would be a nice recipe to make and take as a sweet dessert after your Easter dinner. This recipe has only four ingredients and your children or grandchildren can help make these sweet treats. This whole recipe takes less than 30 minutes to make.

What you will need

1 large cookie sheet                                         1 kettle
1 spoon for stirring                                           1 knife for cutting your pieces

Graham Pralines

24 graham cracker squares                              1 Cup Butter

1 Cup Brown Sugar                                         1 to 1 ½ Cups of Peanuts or any other nut you like

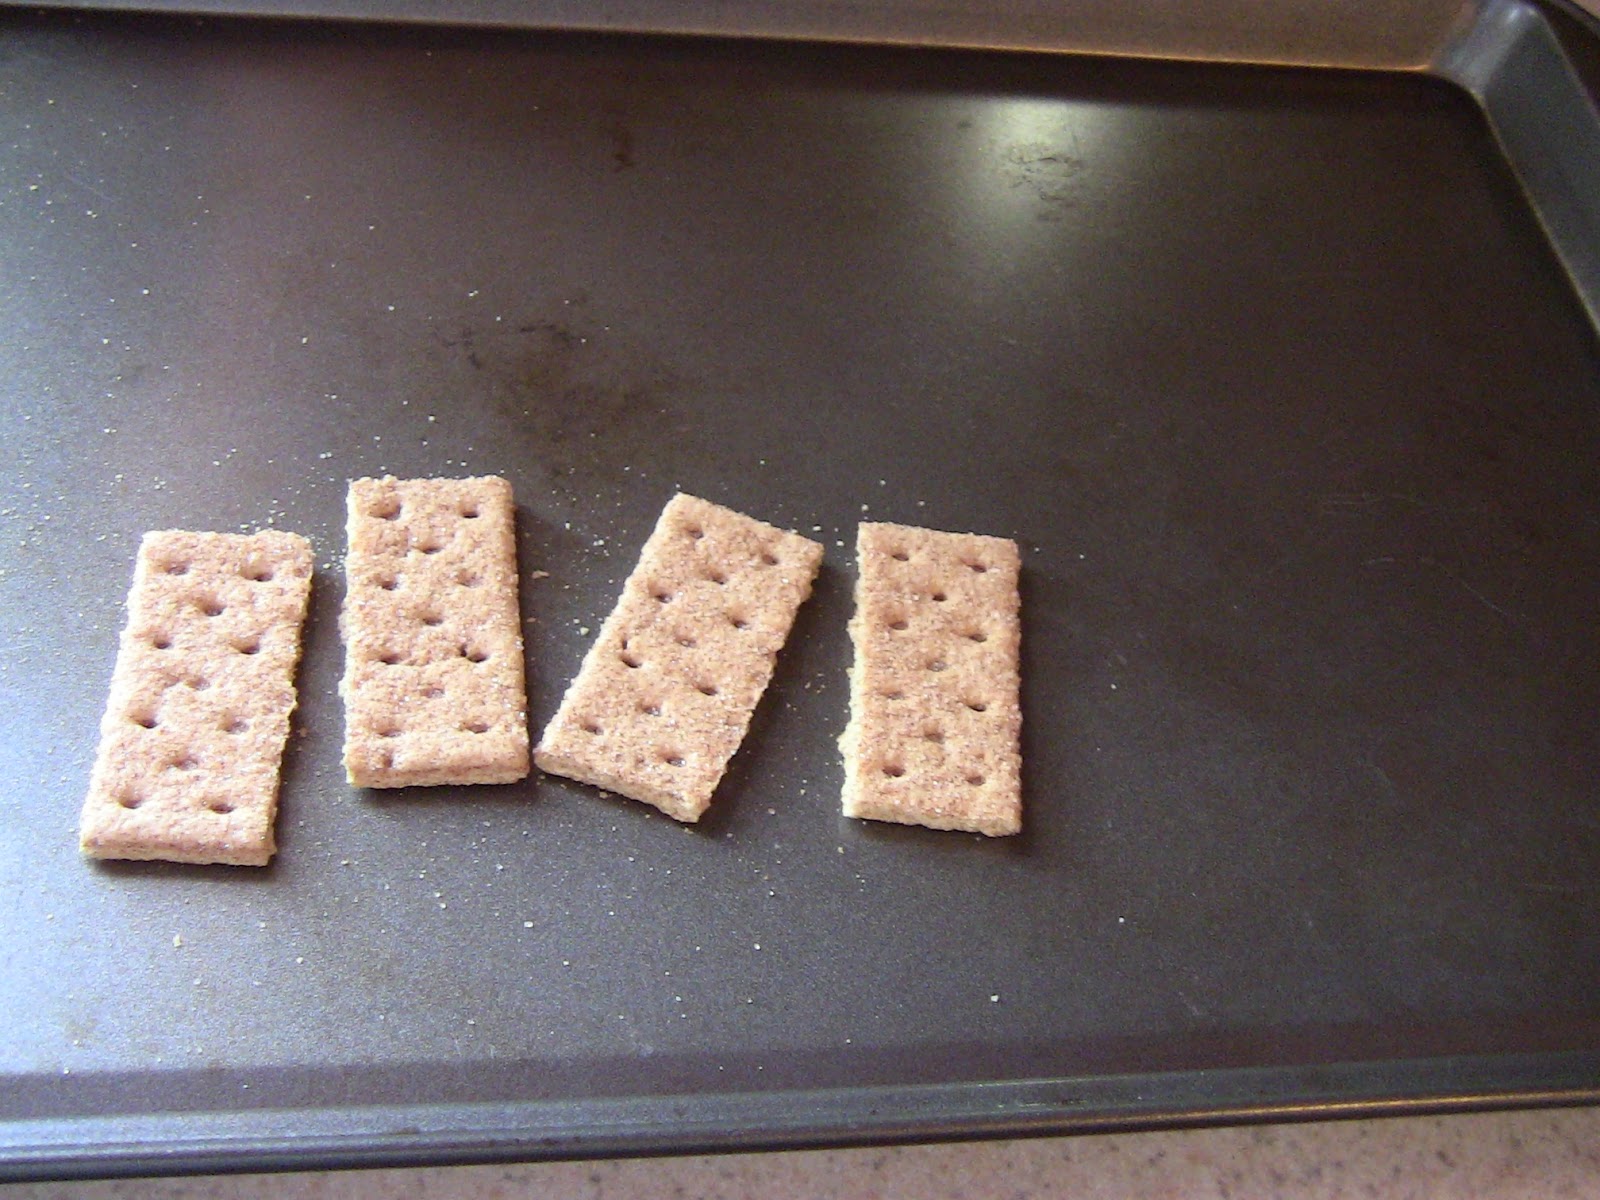
1.       On an ungreased 15 by 10-inch pan place broken up graham crackers pieces on the pan until the whole pan is covered, about 24 whole crackers. Set aside.

2.     


  Next, bring 1 cup of butter and 1 cup of brown sugar to a boil. Boil for 2 minutes until it thickens up
.
3.    

   Stir in your 1 to 1 ½ cups of peanuts into your caramel sauce.

4.     

  Pour your sauce with the peanuts over your graham crackers and spread it out.

5.      
Bake 350 degrees for 10 minutes.

6.      
Take out and immediately and cut into little pieces. I just cut along the lines of the crackers for an easy cut.

7.     
  Let cool and place on waxed paper so they do not stick together. Enjoy!


These pralines are so easy to make and very delicious. Your children and grandchildren will love to help make and eat these. Make Easter a special day with your family with these sweet treats. Have a Happy Easter from Suzie Homemaker.

Monday, March 19, 2018

Dehydrating Celery

How many of you love celery, especially ants on a log? Eating celery is a nice healthy snack but, it does not last very long in the refrigerator. How many times have you thrown out your celery because it is getting limp or soft? Today I want to show you how to save your celery instead of throwing it away and wasting half or more of it.

Last week one of my husband’s employees was going to throw her celery out, but I said I would take it and use it for soups. She asked me why I would want limp celery? I said I would dehydrate it and use it later when I was going to make soups.

Today I will show you how I Dehydrate celery.

1.       First, bring out your dehydrator and place one tray on the bottom with your fruit roll-up tray. This will be the tray that catches anything that falls through as you are dehydrating your cut up celery.
2.       Cut off any ends that are dark. Start slicing your celery thin and cutting into little pieces. Do not throw out the leaves these can be cut up and dehydrated along with your celery pieces.

3.     
  Place your second tray on top of your empty tray with the fruit roll-up insert on it. Place your cut up pieces of celery and leaves around the tray.

4.      
My heat source is on top so, I put another empty tray on top of my full tray of celery. This will prevent any celery getting caught in the motor and wreaking your machine.

5.      
When your celery and leaves are very dry to the touch and can be crunched, you can then place the dried celery and leaves in an airtight zip-lock bag or an airtight container. Always check your dehydrator for temperature and about how much time it will take to dehydrate your celery.

I hate to waste food so when this employee wanted to just throw it away I decided to take it home and dehydrate it. I will take it into work and show her what I have done with the leftover food she wanted to throw away. I always try to find a way to preserve my leftovers or use them instead of wasting food and throwing it away. Now I will have celery for soups for a while without having to go buy it from the store.


I hope you enjoy this very easy way to preserve wilting celery from Suzie Homemaker.

Monday, March 12, 2018

Edible Easter Bunnies

Today I want to show you how to make a fun Easter treat the whole family will love. This would be a great project for your children or Grandchildren to make. When my children were younger we made these to take to school for an Easter treat.

Edible Easter Bunnies

1.      
First, you need to boil some eggs.
2.       Let your eggs cool before peeling them.
3.       Cut them in half and take out the yoke.
4.       Put the yoke in a little dish and mash and add Miracle Whip, just like you are making deviled eggs.
5.       Take some small carrot sticks and slice them thin.
6.       Take some green of purple grapes and cut them in half.
7.       Grate up any variety of cheese, just a small amount.

There are two ways to make these edible Easter Bunnies and I will show you how to make both of them.
1.       First, cut your eggs in half and take out the yoke.
2.       Turn the egg upside down.
3.       Place your sliced carrots under the eggs for the ears.

4.       Place the cut in half grapes on the egg for eyes.
5.       Take a few pieces of grated cheese and make whiskers below the eyes.
Now you have an edible Easter Bunny.
 You can use just about any fruit or vegetable for your eyes and ears.

The second Edible Easter Bunny is a little different and uses the yoke made like a deviled egg.
1.       First, cut your egg in half and take out the yoke.
2.       Take the yoke and smash it up and add your Miracle Whip.
3.       Taking the mashed egg and Miracle whip put it inside your egg facing up.
4.       Take your sliced carrots for ears and stick them into the very top of your mashed eggs with Miracle Whip.
5.       Place your cut in half grapes just below the ears for your eyes.
6.       Take some of your grated cheese and make whiskers just below your eyes.
Now you have the second edible Easter Bunny.

Easter is a time to get together with family and friends, why not make it fun for the whole family. These edible Easter Bunnies took less than 30 minutes to make. Wouldn’t these be fun to place on the table at Easter for a nice decoration? Have your children or grandchildren help make these and let them get creative with the fruits and vegetables. I hope you like my edible Easter Bunnies from Suzie Homemaker.


Monday, March 5, 2018

Bread Machines

Today I want to talk about loaves of bread, not just loaves of bread from the store or frozen bread, bread made from a bread machine. How many loaves of bread do you buy each week, 1, 2 or more? With a family of 4, we go through 2 to 3 loaves of bread a week. When you buy these many loaves of bread, every week this can really add up fast. Depending on if you buy white bread, wheat bread or any other bread you could be spending anywhere from $4 to $10 dollars a week alone just on bread.

This last week I decided to do some research on bread machines on Amazon.com. I was amazed at the price differences and the machines available. My first decision was on what size bread loaves I wanted and what features I wanted. Then I looked at prices, name brands, and reviews. I only looked at bread machines with 4 to 5-star ratings. This really brought the selection down to a couple of bread machines to pick from. Always check the star ratings and read the reviews you would be surprised at how people will give you their honest opinions.

The reason I am talking about bread machines is that I use to have one but it finally after 20 years decided to die on me. My whole family missed homemade bread and the cost of buying bread from the store was getting a little high. Since I do surveys online this is how I paid for my new bread machine. The upfront cost of a bread machine can be expensive but in the long run, it will pay for itself in no time at all. You can buy a 10# bag of flour for under $4 dollars and the bread machine yeast for under $3 dollars. You can make a fresh loaf of bread for pennies compared to dollars.

The bread machine I picked out was not a name brand machine, but it still had a 5-star rating. I spent just under $100 dollars for this machine and so far I have had great results.
I have made 1 loaf of wheat bread, 1 loaf of white Bread, and one pizza dough with great success.
This machine has extra features that I really love, like delayed setting to start your bread at any time you like, a keep warm setting to keep your bread warm for up to 1 hour. This bread machine is so quiet, you hardly know it is on and working. The bread machine I picked out is from Tobox.com.


This bread machine is an investment, so make sure you will be using it a lot or it will not be worth it. I like to find ways to save money on the food we eat and this is just another way to save. Bread is expensive in the store why not make some homemade bread that your whole family will love. Do your research before you buy a bread machine and decide on the one that best fits your needs.
Enjoy some homemade bread from Suzie Homemaker.