Thursday, June 16, 2016

Gardening Tips

Will it ever stop raining!  Rain has been a real problem this year for my gardens. Today I will show a few of my gardens and how I try to take care of weeds. The weeds have been a big problem with all this rain. First, you can’t get into your gardens without sinking up to your knees. My poor work boots are so full of mud.

Here are a few things that I use to keep down the weeds. I use cardboard boxes, cereal boxes, cracker boxes and I found some old drywall boards and cut them into long strips to put in between the rows. This helps keep down the weeds between the rows, so then all I have to do is weed around the plants
.
My first garden I will show you is my main garden. This garden took a hit with all the rain. Some seeds washed away or just did not come up. As you can see I have my cardboard boxes and drywall board down in between my rows. I can walk on these very easily and not get my boots all mud. Now all I have to weed is by the plants. This works very well.

My second garden I will show you is my raspberry garden. My husband dug up a patch in our lawn and we put in a small patch of raspberries. Every year I cut out all dead branches and pull all the weeds. This patch spouts new raspberries each year so the patch keeps on growing and spreading.

My third garden I would like to show you is my grape vines. If you have an old dog coop this make a great climbing wall for you grape vines. A good trellis is another good wall for your vines to climb up. We have had these grape vines for 3 years now and they are producing a nice amount of grapes for jams, juices or just to eat.

My fourth garden I would like to show you is my strawberry garden. I had no set place for these, so I just planted then in my flower garden. They have a nice pretty flower, so they just fit right in. I am picking strawberries every other day lately. I throw straw down in between a little bit to keep down the weeds.

My last garden has tomatoes. To keep down the weeds around the plants I took an ice cream pail and cut a hole in the bottom to let the plant grow through it. This helps with the weeds around the bottom of the plant and also helps with too much rain.


Having gardens takes a lot of work. It is well worth it when you have fresh produce to can and eat. Weeds will always be a problem so I hope some of these things I do will help you with your weeding problems. Happy gardening from Suzie Homemaker.

Wednesday, June 8, 2016

Exrta Minty Chunk Cookies

                I would like to show you a recipe my youngest daughter loves to make. She likes to add an extra zing to this recipe because she loves mint. Everybody loves cookies, so today I will be giving you my daughters mint cookie recipe. This recipe makes about 4 dozen cookies.  I will be lucky if these cookies last 2 to 3 days.

Extra Minty Chunk Cookies

½ Cup softened butter
¾ Cup brown sugar
½ Cup white granulated sugar
1 teaspoon baking powder
1 teaspoon baking soda
2 teaspoons vanilla extract
½ teaspoon mint extract (secret ingredient)
2 eggs
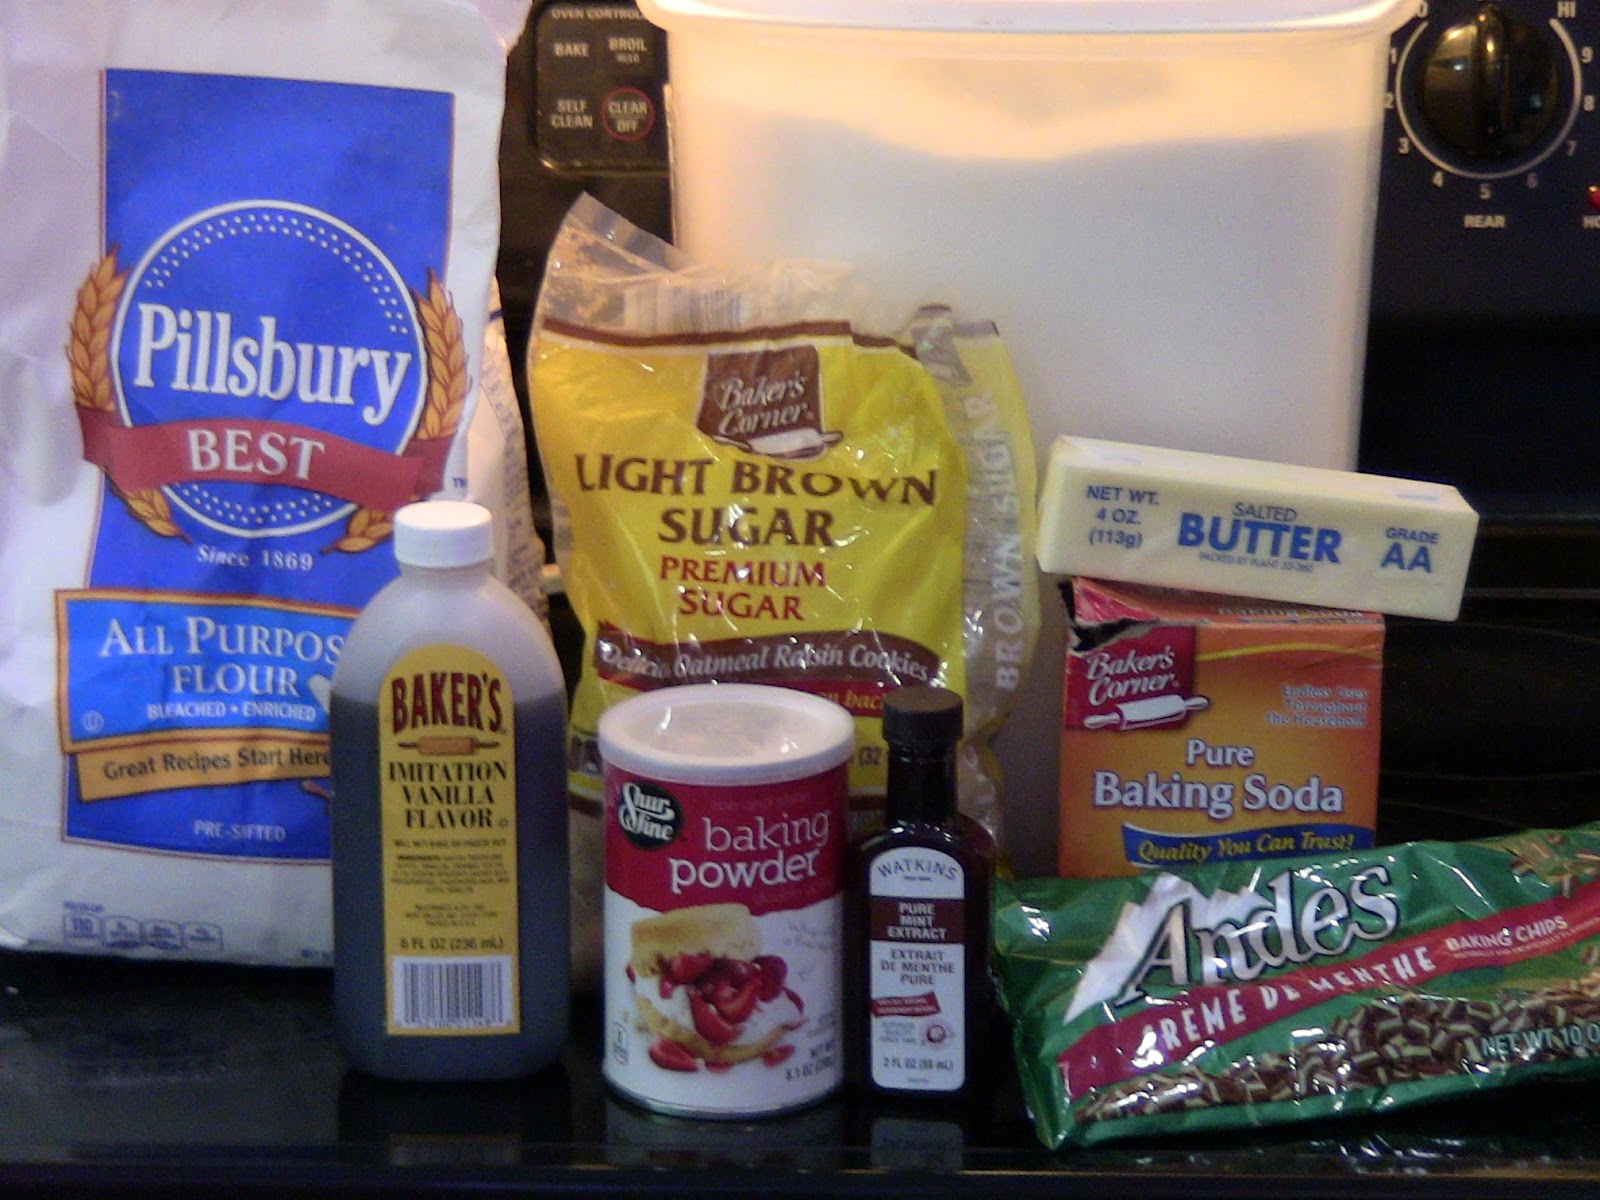
1 package Andes Crème De Menthe baking chips

2 2/3 Cup all-purpose flour

Beat butter, sugar, baking soda, baking powder, vanilla, mint extract, and eggs until mixed. Stir in Andes candies then add flour and mix well. Chill the cookie batter for one hour in the refrigerator. Take a spoon and make 1 ounce balls. Take your formed balls and flatten them a little bit with a fork. Raise your top, rack one level from the middle and bake on a non-stick pan. Bake at 350 degrees for 8 to 10 minutes. Leave your cookies on the pan to cool for 2 minutes. This recipe makes about 4 dozen cookies.


                My daughter loves mint, so adding the extra mint extract gives these cookies an even more minty flavor. This is an easy recipe to make and everybody will love them. I hope you love my daughter’s extra mint chunk cookies from Suzie Homemaker.


Wednesday, June 1, 2016

Camp Mustache 2016

V                I hope everybody had a nice Memorial Day. This holiday weekend, my husband and I went to Washington State for a seminar. The resort we stayed at was Rainbow Lodge Retreat Center, located in North Bend Washington. This retreat can handle 60 people comfortably.  This retreat focused on saving money and how to retire early. This was our second year that we have attended this seminar and we had a lot of returning people and many new ones. We made many new friends that we will continue to communicate with.

                This whole retreat is focused off of Mr. Money Mustache. I recommend everybody to check out his web site www.mrmoneymustache.com He explains how he and his wife retired early while in their early 30’s. As you know, I like to find ways to save money and Mr. Money Mustache tells you how he and his wife did this and retired early. I give you the little ideas and he gives you the bigger ideas.


                My husband gives tax savings ideas at this seminar each year. Some other classes that are given are travel hacks. This class gives your travel ideas on how to save on hotels and airline flights, using different credit cards. The whole seminar is based on saving, saving and more saving. If you need more information on the retreat here is the web site. rainbowlodge@mns.com. The big highlight of this seminar is the 8-mile hike up Mt. Si. Not everybody makes it to the top but most try.

                Mr. Money Mustache talks with everybody at the seminar. At the end of the seminar, they have a Q and A session where everybody gets the chance to ask any questions they may have. The age of people that come to this seminar is between 23 to over 60 years old. We all share our stories and where we are in our journey to early retirement. The goal is to have enough money to retire early and enjoy life. Mr. Money Mustache and the people at this seminar help you achieve these goals.
                I hope you enjoyed your Memorial Day, I know we did from Suzie Homemaker.                

Monday, May 23, 2016

Planting Tips and Ideas

Planting season is here! Now, let’s find some easy short cuts for planting your gardens. Today I would like to show you how I plant some of my gardens. I reuse a lot of things from year to year to keep cost down. As you already know, I love to plant a lot of gardens and grow a lot of produce. Summer is my favorite time of the year. I love to be outside in my gardens and enjoying the sun. Gardening is a fun and fulfilling hobby of mine. Plus I love having fresh fruits and vegetables year round. I spent 4 hours planting two gardens today, and I would like to show you some planting tips.

Here are some things you will need:

Scissors, Christmas stakes (the ones that hold your lights outside), yarn, a hoe, and your seeds.
I buy the Christmas stakes after Christmas at 50% to 75% off and use these to mark my rows .I use these stakes year after year until they break. These make great markers for your rows. I then take my yarn and tie them to my stakes to make an even straight line for your rows.


Next, I take my hoe and run it under my line to make a straight row for planting. Start planting your seeds and then cover them up.


As you can see I have a lot of potatoes to plant. All these potatoes came from last year stock. We could not eat them fast enough, so I let them spout and now I have free potatoes to plant. When planting Potatoes, make a big hole and place the potato in the ground with the stem pointing up. Cover your potatoes and make a big hill around your potatoes. This gives your potatoes room to grow. After everything is planted water your gardens good.


Have fun being outside working in your gardens and enjoy the weather. I hope some of these tips help you with your gardens from Suzie Homemaker.


Friday, May 20, 2016

Grocery Shopping Tips

Today I would like to talk to you about shopping for groceries. Groceries can really add up fast. So today I am going to give you a few tips on how I shop for groceries. I do not go to just one store when I shop, I go to several stores. Saving money is always the best deal when I shop. I will be showing several stores I shop at and why, and how to save money shopping there. The reason why I shop at several store is because I can get better deals at certain stores this way.

The first place I like to shop is Costco. The big ware house stores are great for bigger quantities and sometimes better deals. Bring your calculator along and always check prices very carefully. I usually buy paper products, soda and food that is on sale. Watch very carefully for prices and ounces in packages. I only go there once a month to restock. Always be careful not to over buy too much. Only buy what you need. Remember other stores you can us coupons at and you can get a better price.  Choose wisely.


The second place I like to shop at is Piggly Wiggly. Yes, Piggly Wiggly can be a little more expensive but I will show you what I do to save big time. Always pick up an ad upon entering and look through very closely. Try to shop on Friday through Sunday so you can use up to 10 coupons and get double off. All coupons up to $1.00 double off. Only buy the food items that are on sale and hopefully, you have a coupon to boot. This is the store where I buy all my cereal for under $2.00 a box and use my coupons at double off. Always look at the end of the rows for your best deals.


The third place I like to shop at is Aldis. Here is where everything is a lot cheaper. You have to watch for quality here. Some foods are not as fresh. I tend to buy all my milk, granola bars, tuna, noodles ,rice and bread here. Prices are much cheaper here. Watch for their special deals. Right after Easter they had hams on clearance for 50 cents a pound. I picked up 5 hams and stuck them in the freezer.


The last place I shop is Walmart. I only shop for food I have left on my list here. Always watch for sales and deals throughout the store here. I love Walmart for their clearance sales on clothes and shoes best.


Saving money on groceries is like a game for me each week. I like to pride myself on finding the best deals I possibly can. Take the time to use coupons and hunt for those deals. I have a budget I stick to on a weekly basis when I shop for groceries. Saving money is always your ultimate goal. I hope these ideas help you with your grocery shopping, from Suzie Homemaker.


Wednesday, May 11, 2016

Yummy Potato Recipe

Today I am going to give you my daughter’s potato recipe. She likes to watch cooking shows and tries to make changes to suit her tastes. She says she is not a good cook, but the whole family disagrees. To be honest she just wants mom to cook instead. So today, I will show you step by step how she makes this recipe. I will be making a smaller version than I normally do just to show you. You can make as many potatoes as you like, depending on your family size. We have a family or four so I will give you the recipe for four.

Ingredients needed:

6 to 8 potatoes                                   Garlic Salt 1 teaspoon
Paprika 1 teaspoon                            Chili Powder ¼ to ½ teaspoon (how spicy you like)
Italian Seasoning 1 teaspoon             Parsley 1 teaspoon
Extra Virgin Olive Oil 3 Tablespoons

First, wash and peel your potatoes.
Put your olive oil in your pan and cut your potatoes into little bite size pieces.
Place your potatoes in your oil and toss them around in the oil to coat them. Next sprinkle all your spices on top of your potatoes.
Toss your potatoes around in the pan to evenly coat them with your spices.
Turn your burner on to a medium setting and start frying your potatoes. You want to have a crispy coating on the outside,
but the inside should still be firm. This should take between 10 and 15 minutes. When your potatoes look nice and crispy put in the oven at 350 degrees for 30 minutes.
These potatoes will come out nice and crispy on the outside and soft on the inside.

This one of our favorite potatoes dishes the whole family can agree on.  We love these potatoes so much we have them a couple times a week.  I hope you enjoy my 21-year-old daughter's potato recipe from Suzie Homemaker.


Wednesday, May 4, 2016

Metal Hanger Craft

                How many of you have a bunch of metal hangers? I have a lot of them, but I don’t like to use them very much. The reason being, clothes don’t like to stay up on them. The hangers are way too slippery to keep clothes on them. So today I am going to show you how to use these hangers and keep your clothes on them. This is an easy project to do with your children or girl- scout troop.

                First, take a metal hanger and place it on the floor or table. Take some colored yarn or multiple colored yarns. Starting at the top of the hanger, measure out yarn by placing it around the hanger giving you plenty extra for winding around the hanger later.


After measuring the first piece, make two more the same size. Knot the three pieces together and tie to the top of your hanger. Start braiding your yarn and tie off the end


After your braid is done start wrapping the braided yarn around your hanger. You can do it as tight or loose as you like. I left a little space in between to make it look prettier.  Just keep winding around the hanger till you get to the top. Then tie it off.


Now you have a pretty hanger that will keep your clothes from falling off. This makes a great gift and is easy to make. This whole project took less than 30 minutes to make.


Why would you throw those metal hangers out when you can make this fun project with your children. This is a cheap and easy project to do from Suzie Homemaker.

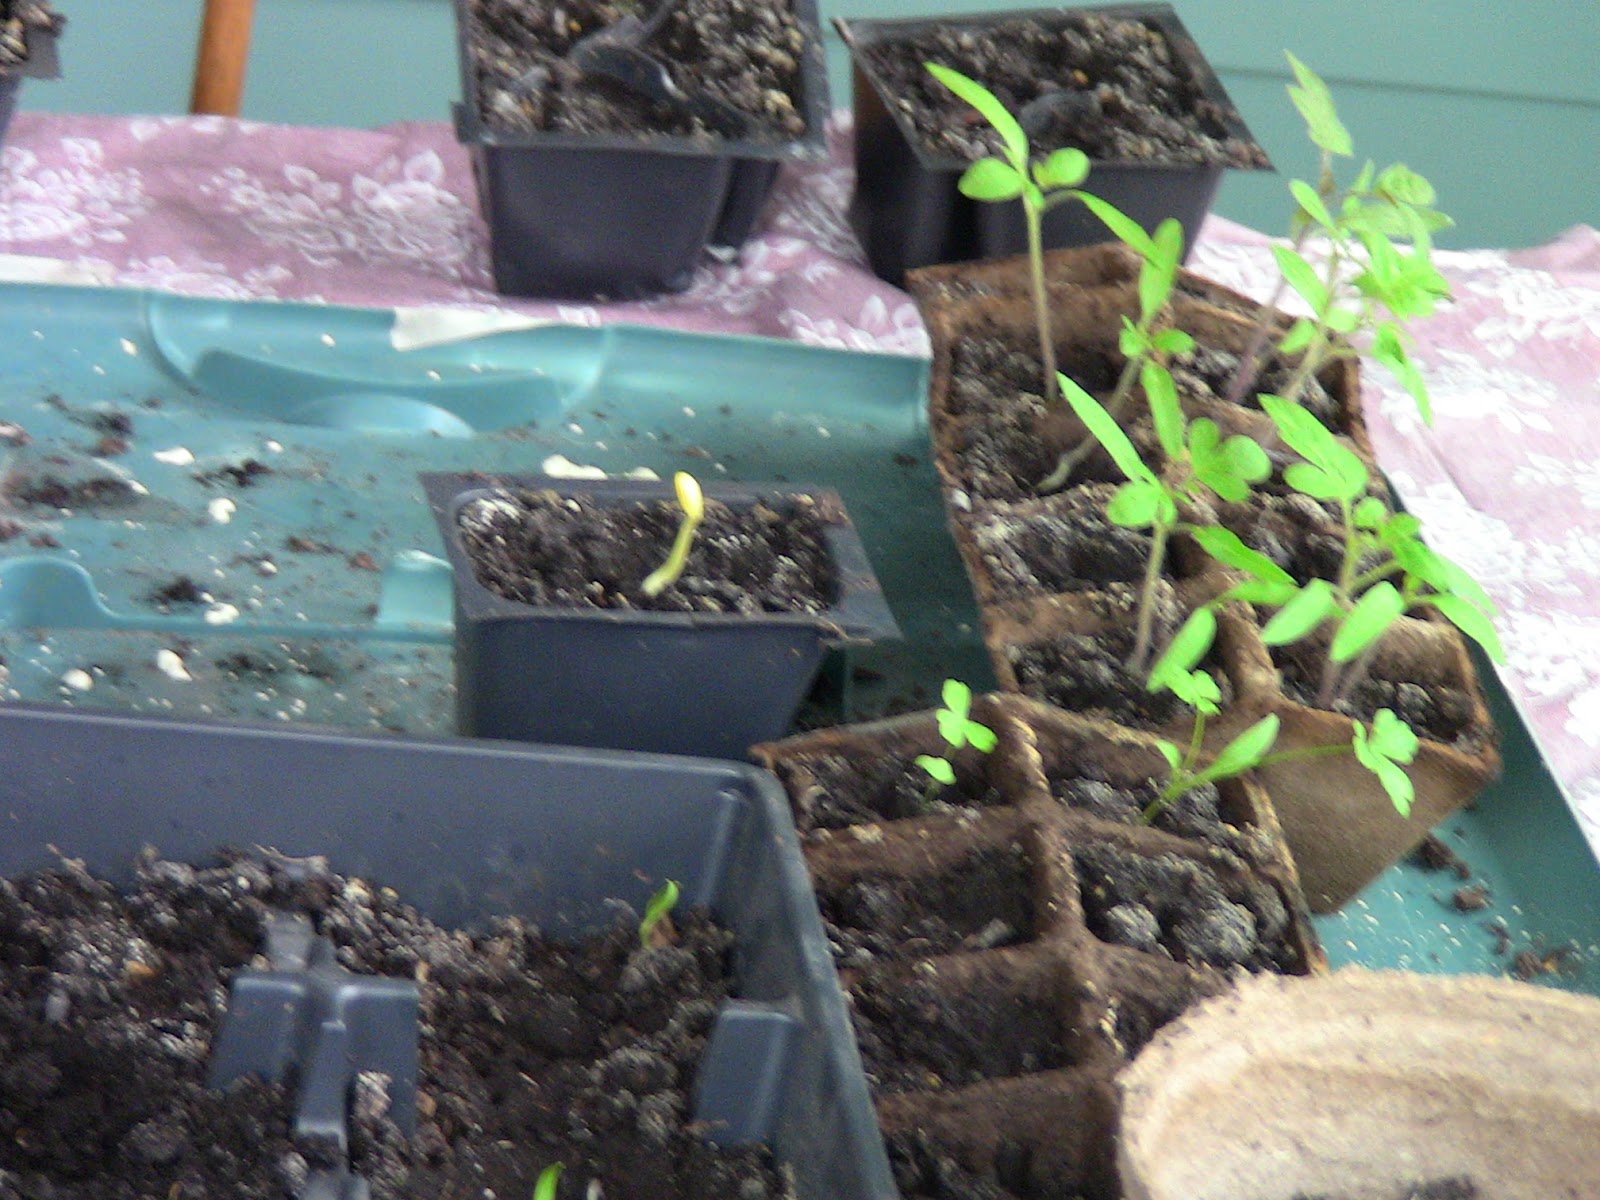
Bonus:  Here are some pictures of my plants I started in the house. They are coming along very nicely. Now we need some more warm and sunny days to really get them going.