Showing posts with label easy projects. Show all posts

Monday, May 8, 2017

Homemade Bubbles

                Summer is almost here and the children and grandchildren like to go outside and play and enjoy the weather. When I was a little kid my mother would send us outside to blow bubbles and chase them around the yard. Since I had two older sisters and one younger brother we had a lot of fun playing with these bubbles. As a treat, my mother would buy us a bottle of bubbles once in a while to play with, but this got a little expensive and we would use them up in less than 15 minutes. She then started buying the gallon jugs but with four children we still went through them pretty fast. Money was always tight when we were growing up, so she had to find a cheaper way for us to enjoy playing with the bubbles. So today I want to give you my mother’s recipe for homemade bubbles.

Homemade Bubbles

                2 cups of Water                                              3 Tablespoons of any type of dish soap

                Put into an old dish soap bottle of a glass jar and shake well. You can make any size batch you like and just store it in your container. When ready shake up well. To blow some bubbles just pour into a dish or use straight from the bottle.

Homemade Wands

                Take an old wire hanger and bend into any shape you like.


If you have very little children or grandchildren try using an old slotted spoon.
Just dip the spoon into the bubble mixture and blow. The metal hangers should only be used for older children so they do not hurt themselves. You can use about anything that has holes in them for a wand.


                What child doesn’t like to blow some bubbles and pop them or just watch them drift away? Summer time is a time to be outside enjoying the sunshine with your children and grandchildren. Why go to a store and spend way too much money on a little bottle of bubbles when you can make these anytime for a fraction of the cost. Now anytime you want bubbles just make up a batch instead of running to the store. These homemade bubbles are easy to make and work just as well as the store brands. Have some fun with your children and grandchildren blowing bubbles from Suzie Homemaker.

Monday, April 3, 2017

Homemade Easter Egg Dyes

Easter is almost here, it’s time to dye some eggs for Easter. When I was growing up my mother made her own dyes for the eggs. With 4 children my poor dad had a lot of hard boiled eggs for a while. My mother would boil 2 dozen eggs and we would each have 6 eggs to decorate each. This time of year I felt bad for my father because nobody liked cold hard boiled eggs, for the next 2 weeks all he ate was eggs. He never minded eating them. He would just smile and say great looking eggs. I miss those days and my father who is no longer with us, but I still decorate a few eggs each year at Easter time. Use this time to decorate your own eggs with your children or grandchildren.


Recipes for Homemade Dyes for Easter Eggs

1.       Red Dyes: 2 cups of beets grated. (I used my canned beets and I mashed them). 1 Tablespoon of white vinegar and 2 cups of water. If you don’t have beets try raspberries chopped. Boil for 15 minutes before placing your hard boiled eggs in the dye. The longer you let them sit in the dye the darker the color.


2.       Yellow Dyes: 3 large yellow onion skins chopped up. 1 Tablespoon of white vinegar and 3 cups of water. Boil for 15 minutes before placing your eggs in the dye. Again the longer you let them sit in the dye the darker the color.

3.       Blue dyes: 1 pound blueberries crushed. 1 Tablespoon of white vinegar and 2 cups of water. Boil for 15 minutes before placing eggs in the dye. The longer you let the eggs sit in the dye the darker the color.

4.       If you want to get creative place some rubber bands around the eggs before dying to creative a neat design. We also used crayons to write on them before dying the eggs. The dye will not stick to the crayons. Sometimes after the dying was done we would use markers or stickers to add a little more detail to the eggs.


5.       Adding the vinegar to the dyes helps the colors set better. You can also mix and match colors to create different colors. Just use your imaginations and have some fun.

6.       Since we have our own chickens our eggs are brown. You can dye brown eggs too, it just takes a little longer for the color to appear and the red turns out to be a darker brown. This is what I used when I dyed my eggs for this post.


Easter is about being together with your family. Making Easter Eggs is a fun way to spend time with your children and grandchildren. Everybody loves Easter Eggs and decorating them. Instead of buying the expensive dyes why not make healthy dyes instead with food you probably have at home already. I hope you enjoy my homemade dyes from Suzie Homemaker.


Wednesday, December 7, 2016

Homemade Christmas Gifts

                As I promised, here are some more Christmas gifts that my 21-year-old daughter is making. These gifts are inexpensive and easy to make. All you need is a hot glue gun or super glue. My daughter is very artistic and creative when she thinks of gifts to give for Christmas. These projects would also be a great way to get the kids and grandkids involved with. Since most kids don’t have a lot of money to spend this is a great project. Kids like to give their own gifts if, at all possible, this makes them feel special. I went with my daughter to the local Good Will Store and she found a lot of little ornaments and things to put into here Mason jar for her Christmas Gifts. Always check out your local thrift shops or even your own  ornaments that you do not use anymore. This is how she keeps her Christmas gifts a lot cheaper and inexpensive.


Things Needed

Hot glue gun or Super glue                                           fake snow
Ornaments or little figurines                                         T-lights
Any color paint                                                              Paint brush
Glass jar with lid or a Mason jar                                    Scissors

1.       First, paint your covers and lids with whatever color paint you like. Let dry.


2.       Hot glue or Super glue your ornaments or decorations onto the cover, or bottom or your jar

3.       Glue your fake snow or spray paint snow inside of jay.


4.       If you do not glue your decorations to the cover, screw on top and paint.

5.       Add decorations outside of your jar if you like.


My daughter was very lucky. I have a lot of mason jars that she could use since I do a lot of canning. If you like, for the smaller projects use a pint jar instead of quart jars. By going to Thrift shops she found a lot of little decorations very cheap. Making homemade Christmas gifts can be a lot of fun. Giving a personalized gift is always a great way to save money. Christmas can get very expensive if you buy gifts from the store. Why not be a little creative this year and make your own gifts, and save a lot in the process. I hope you enjoy some of my daughters Christmas presents, from Suzie Homemaker.


Wednesday, May 4, 2016

Metal Hanger Craft

                How many of you have a bunch of metal hangers? I have a lot of them, but I don’t like to use them very much. The reason being, clothes don’t like to stay up on them. The hangers are way too slippery to keep clothes on them. So today I am going to show you how to use these hangers and keep your clothes on them. This is an easy project to do with your children or girl- scout troop.

                First, take a metal hanger and place it on the floor or table. Take some colored yarn or multiple colored yarns. Starting at the top of the hanger, measure out yarn by placing it around the hanger giving you plenty extra for winding around the hanger later.


After measuring the first piece, make two more the same size. Knot the three pieces together and tie to the top of your hanger. Start braiding your yarn and tie off the end


After your braid is done start wrapping the braided yarn around your hanger. You can do it as tight or loose as you like. I left a little space in between to make it look prettier.  Just keep winding around the hanger till you get to the top. Then tie it off.


Now you have a pretty hanger that will keep your clothes from falling off. This makes a great gift and is easy to make. This whole project took less than 30 minutes to make.


Why would you throw those metal hangers out when you can make this fun project with your children. This is a cheap and easy project to do from Suzie Homemaker.

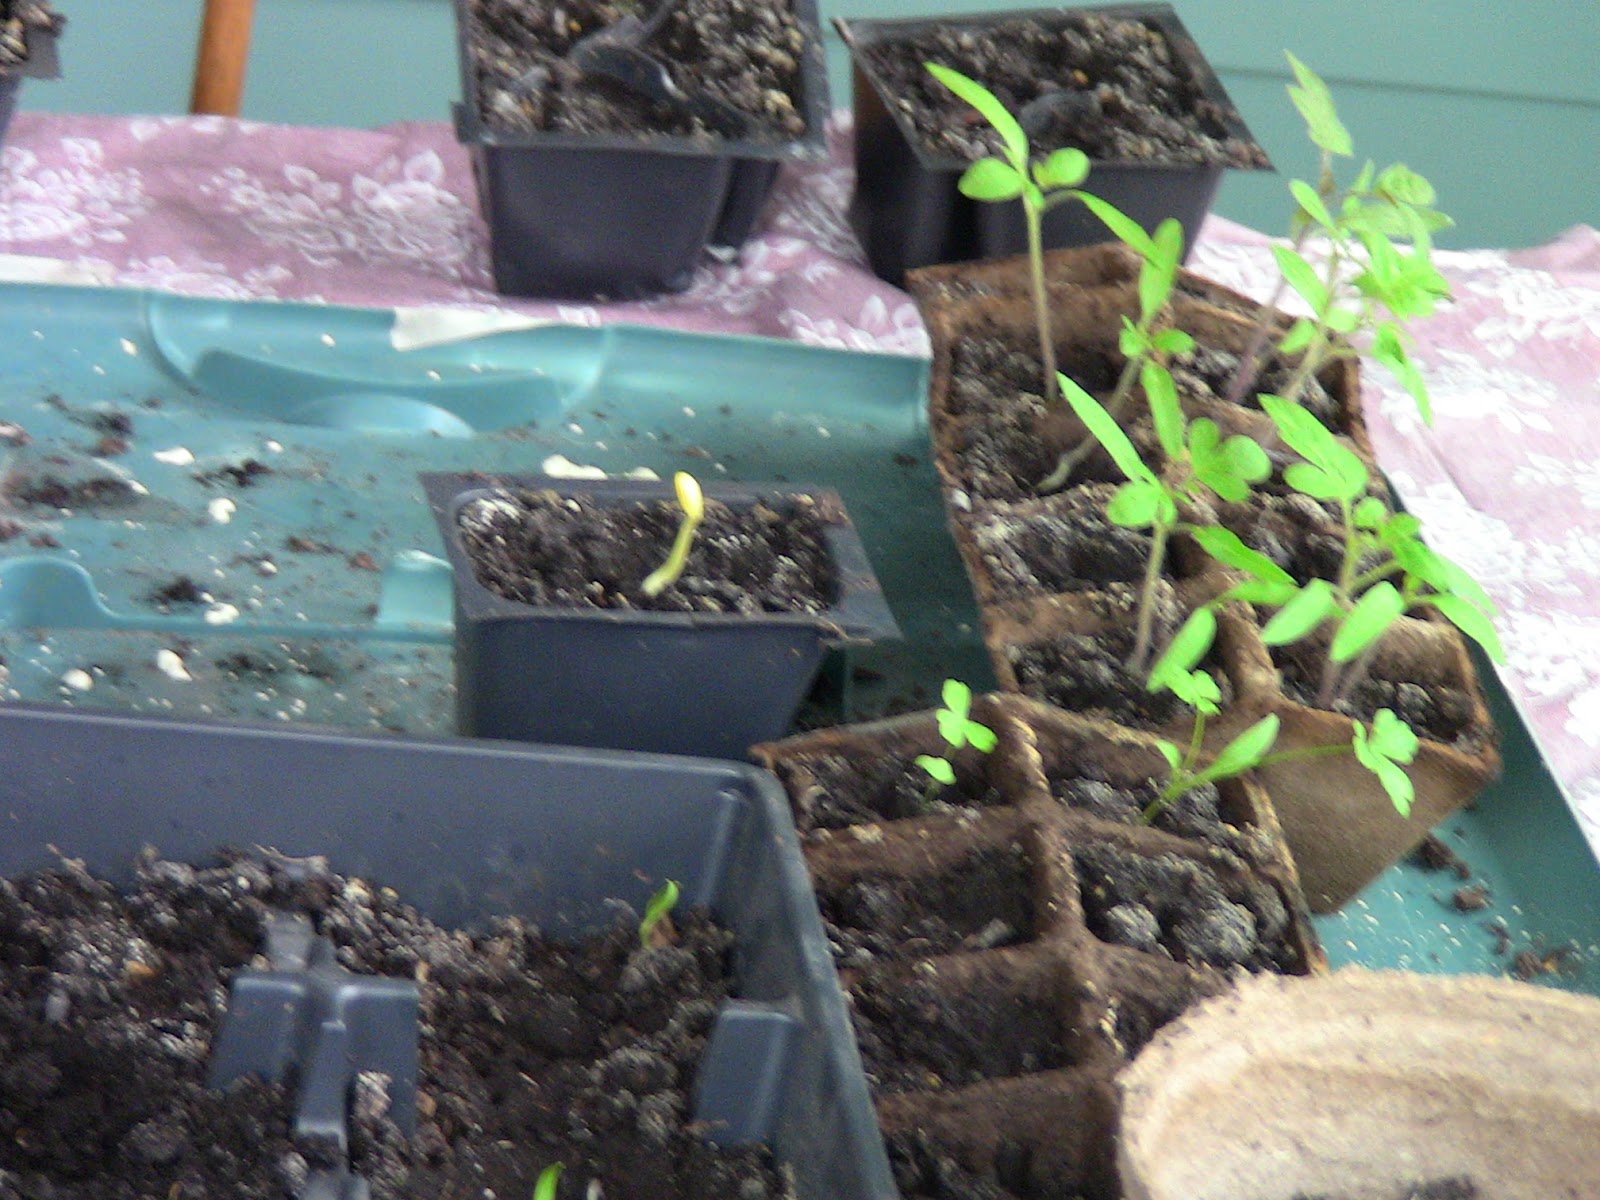
Bonus:  Here are some pictures of my plants I started in the house. They are coming along very nicely. Now we need some more warm and sunny days to really get them going.