Showing posts with label kids projects. Show all posts

Sunday, October 7, 2018

Healthy Halloween Treats

Today I have a fun activity to do with kids of all ages for Halloween. This can be used as a snack for school or any time you want to do something fun with your kids or grandchildren. This little food project takes less than 30 minutes to make, bake and eat. You only need 3 ingredients which you should have at home. This is a healthy snack that everybody will love.

What you will need

Bread of any variety                                              cheese of any variety
Garlic salt                                                                 Halloween cookie cutters
Cookie sheet

1.       Take your bread of any variety and toast it.

2.     

  Cut some cheese slices big enough to place your cookie cutter on.

3.     
  Using your Halloween cookie cutters, cut out your shapes of ghosts, cats, and pumpkins.

4.     
  Place your Halloween shapes onto your toast. Depending on how big your Halloween shapes are you may have to have a bigger piece of bread.

5.      

Place the bread onto a cookie sheet with your Halloween cutouts on top into the oven. Turn your oven on broil and watch closely until cheese starts melting.

6.     
  Now you have a Halloween cheese snack.

7.      
Bonus, if you like garlic salt sprinkle a little on top of your melted cheese.

8.      
Eat and enjoy a fun Halloween snack.

When I was a kid this was a fun Halloween snack that we took to school. When my children were little this was a great healthy snack to take to Pre-School to share with the class. Let your children and grandchildren get creative with this easy food project. They could cut out eyes, teeth and more depending on your cookie cutters design. They could even add vegetables as eyes for decorations.


This is an easy project to do anytime during the Halloween season. You could make this for breakfast, dinner, supper or for just a fun healthy snack. Let’s have some fun this Halloween from Suzie Homemaker.

Monday, February 27, 2017

Homemade Piggy Bank

                Today I would like to give you an easy kid’s project you can do with your grandchildren or your kids. When I was a little girl we made a lot of projects at school and I was also in Brownies and Girl Scouts.  Earning badges was I liked to do a lot of.  When I grew up and I was in High School I ran my own Baby Sitting Service. So I had to come up with a lot of easy and fun projects I could do with the kids at home. So today I will show you how to make a homemade Piggy Bank. It is really hard to find a Piggy Bank in the stores. If you can find one, they are really expensive.

What you will need

1 Milk jug or 1 large Juice bottle (plastic)

Pink Construction Paper or Pink Paint

Black Marker of Black Paint

Scissors or Knife

Glue or Tape

1.                   I used 1 large Hawaiian Punch juice container. But if you like you can also use a 1-gallon milk container. I soaked the container in water to remove the wrapper.

2.                   If you want to get fancy paint the container all pink. This will make it look more like a real pig.  I left mine clear so I could see the money inside. The choice is yours.

3.                   With your construction paper cut out a circle to cover the lid. Now you have a pink nose. If you like you could paint the cover pink. The choice is yours.

4.                   With your pink construction paper cut out some ears. Glue or tape them toward the front of your container on top near the cover.

5.                   Next cut a big circle out of your pink construction paper.  With your scissors start around your circle until you get close to the middle. Glue or tape the inside of your cut circle to the back of your container. Now you have a tail.

6.                   With a black marker of black paint make your eyes
7.               Using a scissors or a knife cut a slit in the middle of your container on top. Now you have your opening for your money. Be careful the opening will be sharp.

This whole project took about 30 minutes to make depending on if you paint the whole Piggy Bank. Now your kids or grandchildren can have their own Piggy Bank that they made themselves.  All you have to do is unscrew the lid and pour out the money.
If you have construction paper at home, this whole project was free to make. I left my Piggy Bank clear so I could see all the money inside. Have fun with the kids while they make this easy Piggy Bank from Suzie Homemaker.


Monday, July 11, 2016

Cake in a Mug

Dump Mug Dessert

How many times have you had a dessert that not everybody liked? Here is an easy way to make an individual dessert. While I was at the gym last week a friend gave me a recipe to try, and now I want to share it with you. This recipe is so easy to make and you cook it in a microwave oven. I will show you the original recipe and different options to try. The reason I call this dump mug dessert is because you put everything in a coffee mug and you just microwave it.


Banana Streusel

3 Tablespoons Flour                                              ¼ teaspoon Baking Powder
Dash of Salt                                                             2 ½ teaspoons Sugar
1 Tablespoon plus 2 teaspoons water               1 Tablespoon mashed Banana
¼ teaspoon vanilla extract

Streusel Topping

¼ teaspoon Cinnamon                                         2 teaspoons Brown Sugar
2 teaspoons mashed Banana                             2 Pecans or Walnuts crumbled (Optional)

                Mix all dry ingredients in a small bowl.
Add wet ingredients until just mixed.
Combine all streusel ingredients in another small bowl.
Fill a coffee mug half full of batter.
Sprinkle 2/3 of streusel mix on top of batter.
Pour remaining batter on top and then remaining streusel topping. Add your pecans or walnuts if desired. Place in microwave oven on high for 1 to 1 and a half minutes.
Take out and place a tooth pick inside to test if batter, is cooked. The cup will be hot. Enjoy!

                Here is another version if you do not want to use bananas


3Tablespoons Flour                                                 ¼ teaspoon Baking Powder
Dash of Salt                                                               2 ½ teaspoons Sugar
1 Tablespoon plus 2 teaspoons water                 1 Tablespoon of mashed Raspberries or Blueberries

Streusel Topping

¼ teaspoon Vanilla extract                                     2 teaspoons Sugar
2 teaspoons mashed Raspberries or Blueberries        Nuts (optional)

                Now everybody can have what they like for dessert. This was so quick and easy to make and everybody loved it. No more complaining or wasting food. You can make this anytime you like with just a few ingredients. Your children or grandchildren can make their own dessert and watch it cook in the microwave oven right in front of them. Enjoy this quick and easy dessert from Suzie Homemaker.


Wednesday, April 6, 2016

Craft Projects Made Easy

Today I have a fun craft project to do with your children or girl- scout troop. This project is very easy to make and very inexpensive. Most of the materials you will need you probably have around your house. With a little prep time, this project can be done in about an hour depending on the size you make.

Materials Needed

Crafting foam or cones                                                   scraps of material in different colors

Scissors                                                                           Ruler

Pinking shears (optional)                                                Pencil or Pen

Beads, buttons, colored tacks, or any other flowers or decorations


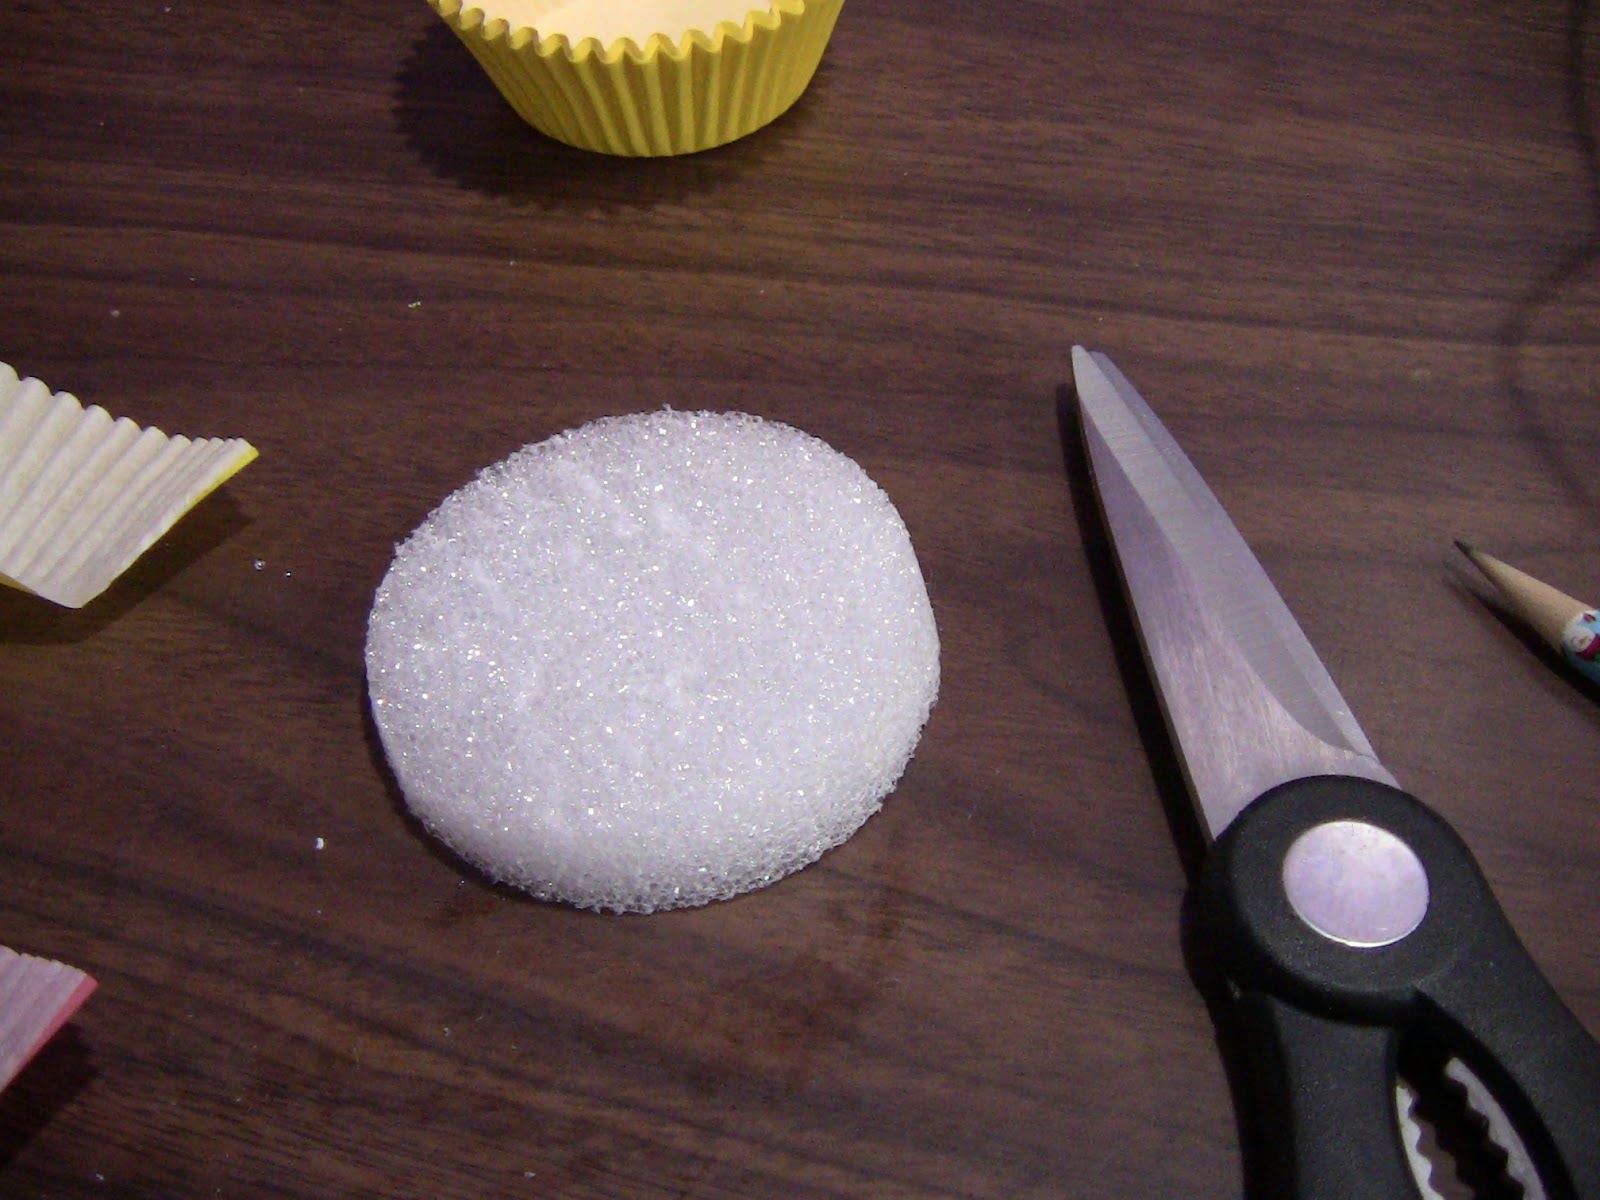
1.       First, cut your foam or cones into whatever shape you like and make it, at least, ½ inch thick. I did circles to make it easy. I have also done heart shapes.


2.       Cut your material into 1 ½ inch squares of different colors or all one color depending on what you like. Sometimes I even add lace to dress it up a little bit. If you want this project to last a little longer, use pinking shears to cut your material so it does not ravel.


3.       Take your pencil or pen and place it in the middle of your material and wrap the material around your pen or pencil.


4.       Next, push your wrapped pencil or pen and push it into the foam. By twisting the pen or pencil just a little bit this will make it look like a flower. Take your fingers and spread it out just a little.


5.       Start by doing the sides first all the way around. Gradually start doing the top. Leave open any areas you want to put any or your beads, flowers or any other decoration.


Materials Needed

Crafting foam or cones                                                     Cupcake holders in any colors

Scissors                                                                                Pencil or Pen

Beads, Buttons, or any other flowers or decorations

1.       First, cut your foam or cones into any shape you want and make it, at least, ½ inch thick.


2.       Take your cupcake holders and cut them into 4 pieces.


3.       Take your ¼ piece of your cupcake holder and wrap it around your pen or pencil.


4.       Push your wrapped pen or pencil into the foam twisting a little bit. Spread out the paper a little bit to make it look like a flower.

5.       Start by doing the sides and gradually work your way to the top. Leave room for your beads, flowers, and any other decorations you may like to add.


This is a fun and inexpensive project to do with almost any age child. I did this project with my daughters Girl Scout troop. We made hearts at this time, but you can make any shape or size your like. We also took round foam balls and made hanging decorations with the material and the cupcake holders. I hope you enjoy this project from Suzie Homemaker.


Wednesday, March 2, 2016

Easy Sock Pouches

What to do with old socks that are getting bad. Don’t throw them away yet. If you have socks with the heels getting thin or holes in them, I have an easy project that the children can help you with. So today I am going to show you what I do with old socks.

I cut off the heels and save the tops. Take the cut-off sock and inside it out and sew up the bottom. You can make these in different sizes and colors. I like to have different colors so I can color code them.  This is my way of knowing where all my remotes are.

I use these sock pouches for glasses, TV remotes, cell phones, soda cans and for my pens in my purse. These pouches are so easy to make and they keep everything clean and safe. With all the remotes you have in your living room I make an extra bag to hold all the sock pouches. Previously I showed you how to make a tie around waist clothes pin bag. I use the same pattern  but make the straps longer so I can tie them around the arm of my couch. This is where I keep all my remotes in the living room so I do not lose them.


Everybody has socks and the do get thin and old, so why not use them for an easy project that the children can help out with. Like I said before I do not like to waste things, so I find ways to reuse them. This is a quick and free way to use old socks. More saving ideas coming soon from Suzie Homemaker.