Monday, January 15, 2018

Chocolate Pretzel-Caramel Peanut Butter Bars

                This week I want to give you a recipe that I found on Pinterest, but I added my own little twist to it. How many of you like chocolate, caramel, and peanut butter. These bars are to die for, so sweet and chewy and gooey. I brought these to the office for a treat and they were gone so fast. The whole recipe took me less than 30 minutes to make than I had to let them harden in the refrigerator for 1 hour.

Chocolate & Pretzel- Carmel and Peanut Butter Bars

What you will need

8oz. semi-sweet chocolate chips                                      4 oz. white chocolate chips
8 oz. mini pretzel twists                                                    11oz. bag of caramel bits
½ cup peanut butter                                                           sea salt for sprinkling
1 large cookie sheet lined with parchment paper              small bowls for melting the chocolate
Measuring cups                                                                 spoons for stirring chocolate and caramel

1.       Line large cookie sheet with parchment paper.
2.     
  Melt 8 oz. of chocolate chips, ½ cup of peanut butter and 2 Tablespoons of water in the microwave oven. Stirring frequently.
3.     
  Spread melted chocolate chips and peanut butter mixture evenly over your parchment paper. Immediately add pretzels twists over the top and gently press the pretzels into the chocolate and peanut butter mixture.
4.     

  Add caramel bits to a microwave bowl with 2 Tablespoons of water and melt according to the package directions. (This usually takes about 2 minutes to melt.) Stir well and drizzle the melted caramel over top of the pretzels.


5.     

  Melt 4 oz. of white chocolate chips and 1 Tablespoon of water in the microwave oven and drizzle over top of the caramel. Sprinkle a little sea salt on top.
6.     


  Refrigerate until hardened, about 1 hour.
7.       Cut or break into pieces and enjoy.


This recipe was so easy to make and very yummy. This would be a fun recipe to make with your children or grandchildren.  If you like sweets, this is a great recipe. I hope you enjoy my yummy treat from Suzie Homemaker.

Monday, January 8, 2018

Homemade Bowl Covers

                Today I want to give you an easy project to make with leftover material or dishcloths. How many of you have bowls in many different sizes that do not have covers. Don’t throw them away yet, I have a nice easy project you can make right at home to cover those bowls. How many of your bowls have cracked or broken lids and you just threw them away? Don’t throw the bowls away with them, my project will help you cover your bowls and still use them.


What you will need


Scrap pieces of Material or old Towels and Wash clothes
Thin pieces of elastic or stretchy string
A small pin for fishing your string or elastic through your material
A sewing machine or you can hand stitch it.
A scissors
Any size bowls

Homemade Slip Covers for your Bowls

1.     


Take out the bowls you want covers for.

2.    


   Place your bowls on your material or towels and make a wide circle around your bowl. I recommend leaving at least 2 inches of space around the bowls.

3.       Cut a circle around your bowls. This will also work with square or odd sized bowls too.
4.       Sew a ¾ to 1-inch hem around your circle. Leave a little opening so you can fish the elastic through and sew closed.

5.    
 
  With a pin place your elastic or stretchy string on it and start fishing it through your hem. When you get to the end pull the elastic tighter to the size of the opening of the bowl.

6.     
  Sew your opening closed to hold your stretchy string or elastic in place.


7.       Now you have a homemade slipcover for your bowls.


These slipcovers are versatile and can be used in many different sized bowls. What really makes these covers nice is that they are washable and can be used over and over again. No more wasting and throwing away all that plastic wrap or tin foil. This is also a good way to keep your food warmer longer too.

These slipcovers took me less than 30 minutes to make. I did not have to buy anything, I had leftover material and towels just waiting to be used. Don’t throw those bowls away just because the covers are cracked or broken, make these easy homemade slipcovers instead. I hope you liked my homemade slipcovers from Suzie Homemaker.


Monday, January 1, 2018

Happy New Years

Happy New Years

I hope everybody had a nice New Years! Form my family to yours welcome to the New Year 2018. This year I want to bring new ideas and new recipes to this blog. Plus I want to have more fun projects for both adults and kids. This blog started out as an informative blog and has now grown into more. I hope everybody has enjoyed what I have given you last year. This year I want to give more. I enjoy helping, sharing and giving ideas that I hope to inspire and enlighten you.

                In 2018 I want to focus more on family fun and things to do with family. My family is very important to me and I want your family to be number one in your life too. I also want to give more ideas on how to save money and still have fun. I want people to know that being frugal does not mean living without, it just means living within your means and enjoying a simpler lifestyle. Money is important to live, but should not be your main focus. Making memories is much more important than having the next biggest or best electronics.

                This year I am planning on spending more time with family and focusing on spending less so someday I can retire and live a simpler lifestyle. I want you kind readers to also reevaluate your own priorities and see where you might be able to change a few things to also improve your lifestyle. You never know when something may come up or a crisis arises. Saving for the future is important at any age.

                When I was little I was taught to save as much as possible just in case something came up unexpected. Children learn from watching their parents and other adults. So it is time to be a good example for them and teach them from young on how to save for those rainy days. Your children and grandchildren will thank you someday when they get older themselves.


                So in 2018, I have made my resolution to you kind readers and my family to save more, give back to my community, give more fun projects and recipes and saving tips. From the Suzie Homemaker family to your family Happy New Year!

Monday, December 25, 2017

Christmas Giving

                Just want to say Merry Christmas from the family of Suzie Homemaker. What did you do this year for Christmas? Did you travel, stay at home with the family or just visit the in-laws? Did you go to some stores and donate money into a kettle of the people ringing bells? This year our family did something different, we decided to donate to an actual cause in our local community and the world. Just because this blog is about saving money does not mean we do not give back to people in need. So this Christmas I want to ask you what you did to give back to your community? Did you help out at a soup kitchen and help serve meals or did you just give some needy family a Christmas gift? Whatever you do is a choice to be made by you and your family. I want to tell you how we helped a local organization that can really use some help not just at Christmas but all year round.

                This year we gave to two causes, the first being Special Olympics. We found this organization to be so inspiring that we had a group effort with this cause. We raised $2500 dollars for Special Olympics. These kids deserve to compete in these games and be rewarded for their efforts. Just the look on their faces when they get their medals is reward enough for our group. My husband gave his time to council several people and all the proceeds went straight to Special Olympics. They sent us several pictures of the kids competing and with their medals.

                The second cause we gave to personally was a local organization called Reach Counseling. I advise everybody to look this organization up and look at all the things they offer. This company helps people who have been abused. They also help the offenders get their lives back on track after they get out of jail. We were told the money we donated helped a single mother of two buy a Christmas tree, some presents, and a Christmas dinner. The rest of the money will be given in gas cards and for groceries. My husband is also going to give his time to help start a class for people who have money issues because of all these problems. After tax season (my Husband is a tax professional) he will help people get back on their feet after abuse.

                Christmas is not just about getting presents, why not show your children and grandchildren how to give back to their community. This is a lesson every child should learn from little on through adulthood. This Christmas was special because we saw how we could help so many different people by giving of our time and a little money. Merry Christmas from the Family of Suzie Homemaker.


Monday, December 18, 2017

Homemade Snow Globe

                Christmas is almost here and the children and grandchildren will be home on Christmas break, what can I do with them to keep them busy and happy? I have another fun project to do with the over the Christmas break. Again most of these things you will need you probably have right at home or can pick up at a local dollar store very cheap. Kids like to do art projects and moms and dads want to keep it affordable. Today I want to show you how to make an easy snow globe.


What You Will Need


Any Glass Jar with a screw on top                                     Any Christmas or any decorations you like
                Super Glue                                                                             Glitter
                Water

1.       First, take your glass jar with the cover facing the top
.

2.       .Take your decorations and glue them into the bottom of your jar.

3.       Let dry for a long time so it will stick really well. Always make sure you don’t get any super glue on your fingers. I advise parents to do the gluing part for the young children
.
4.       Pour in some glitter into your jars.

5.       Fill your jar with water. You can super glue the lid if you like or just screw on tight. I like to leave unglued so if I want to add more glitter or water I can.

6.       Shake and watch the glitter swirl around in the jar. Now you have a little snow globe you made yourself.

Your children and grandchildren will love this project. This project is cheap and easy to make. Let your children and grandchildren be creative and have some fun this Christmas break. Christmas is a time to spend with your children and grandchildren having fun and enjoying the Holidays. Have fun making this snow globe from Suzie Homemaker.


Monday, December 11, 2017

Homemade Christmas Bells

                Christmas is only a few weeks away, are you ready? How many of you parents and grandparents have children who get bored easily? I have a fun little project that will keep them busy for a while and you should have most of the things right in your home. How many of you keep all your measuring cups from your cough syrup bottles, Nyquil bottles, or prescription bottles? I have over 30 measuring cups in my junk drawers. So today I have a fun little project the kids and grandchildren can make right at home with a few scraps you probably have at home. Today we will make Christmas Bells from all those measuring cups.

What you will Need

                Measuring cups                                                    Glue
                Yarn                                                                       Beads
                Bells                                                                       Little Ornaments
                Paint                                                                       Scissors
                Paper Clips

1.  Gather up all your measuring cups in all sizes and colors.

2. Paint your cups any color you like. Let dry.


3.       Glue on any decorations you like. Maybe some ribbon, beads, balls, stickers or anything you can think of.

4.       If you have bells or small ornaments use a paperclip and place it up through the holes that you cut in the top of your cups. I used scissors to make two slits. Unbend the paperclip and fish it through your slits and then hang your bell or ornament on it inside of your cup.


5.       You can make as many bells as you like in many different colors, sizes, and decorations. Let your children and grandchildren be creative and have fun.

6.    
   Once you have all the bells done fish a piece of yarn through the top of the bells where you have your slits.

7.   
    Now you can have a nice long line of bells you can hang up anywhere.


Your children and grandchildren will have a ball doing this project. Let them decorate these bells anyway they like. Most of these things you should have right at home, but if you don’t just go to your local dollar store to pick up what you may need. This is one way to use up all those leftover measuring cups instead of just throwing them away. This would be a fun project to do with your kids and grandchildren this weekend. Be creative and have some family time together from Suzie Homemaker.

Monday, December 4, 2017

Christmas Decorating

                December is here and it is time to start thinking about Christmas. It’s time to start decorating the house with all the Christmas decorations. How many of you go all out and really decorate the whole house with lights, garlin, and ornaments? Whatever you do big or small for decorating your house, just remember it all takes time. I have a fun idea for decorating this year for you.

                Most years at Christmas time I would just put up the decorations while the kids were in school and let them help decorate the tree on the weekend when they were home from school. I would always get grumbles about where I put some of the decorations and the lights were not right or where they wanted them.

A New Christmas Tradition

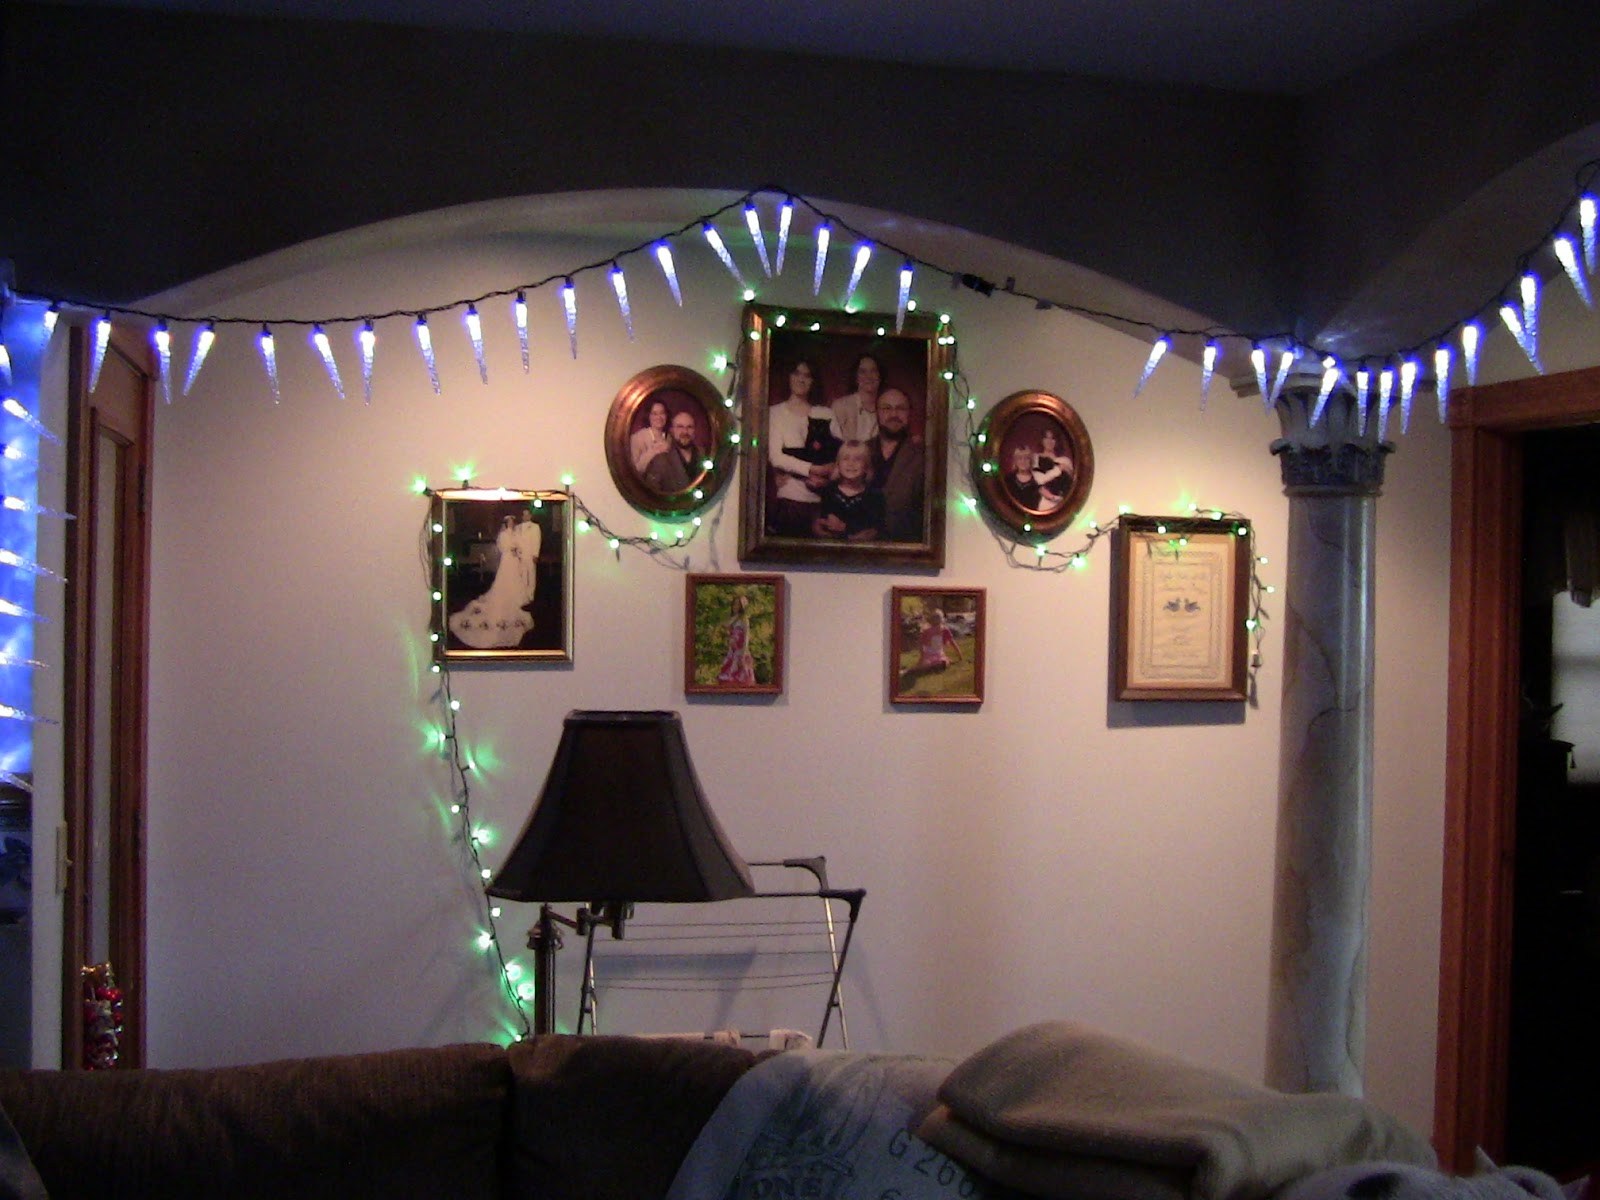
                My two girls love Christmas so we decided several years ago to let them decorate the house. Every year the house looks different but the girls put there own little touches on it to make it look nice. Why not let your children or grandchildren decorate your house. This gives them a sense of pride that they did it themselves. If you have younger children help them with the decorating but let them decide where to put everything.

                Since my oldest is now in college my youngest did all the decorating herself this year. Yes, things may not be the way you want but just look at the pride on their faces when they can say they decorated the whole house for Christmas themselves.


Needless to say, I have a lot of extension cords everywhere and a lot of lights up.

It was so much fun watching her put everything up and the way her face lit up when we stepped back and lit everything up. My husband and I took great pride in watching here do this herself. Yes, things may not be where you would have put things but who cares as long as it is up and looks halfway decent it does not matter.


                Christmas is about being together as a family, not about worrying about this decoration not being in the right place. Just watching her be so determined to want to do it herself was all we needed. If you decorate the house together as a family why not let your children or grandchildren take the lead and decide where everything should go. This gives them responsibility and your trust. Enjoy the Christmas holiday as a family and start your own traditions from Suzie Homemaker